
how to make a football helmet out of cardboard
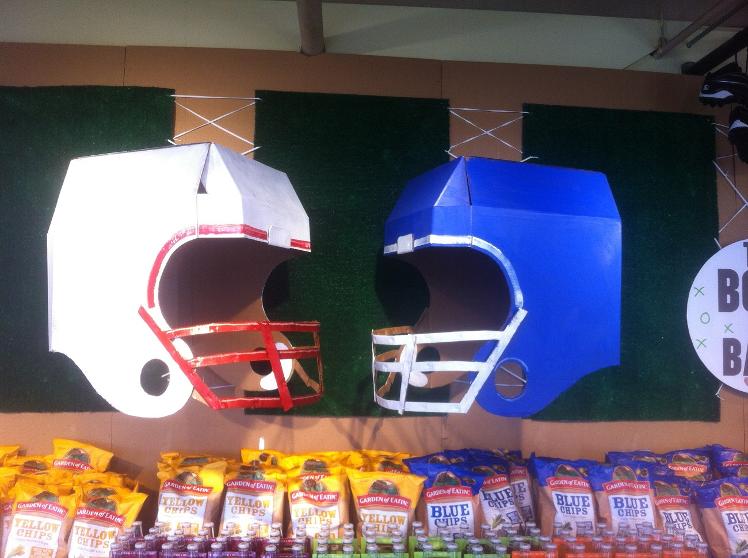
Cardboard boxes are a great thing to have. They help you store items, transport them across distances, and at the end, when you don’t need them anymore, they can be recycled into great crafty projects. Today we are going to show you how to build a football helmet out of a cardboard box. You can use this helmet as a part of a costume for your kid’s dress-up box toys, or even for their Halloween costume. And if you are feeling adventurous yourself, you may even wear it yourself on the night of your favorite team’s football game. These football helmets can also be customized to mimic the helmets of your favorite players. The options are endless, so read on!
Things You Will Need:
The material list for this great DIY project is fairly simple. What you need are the following
- A cardboard box
- A4 paper: to print the template upon
- Scissors
- Glue
- Markers
- Spray Paint
- Printer: to print the helmet template
- Pencil
- Ruler
- Craft knife/Cutter
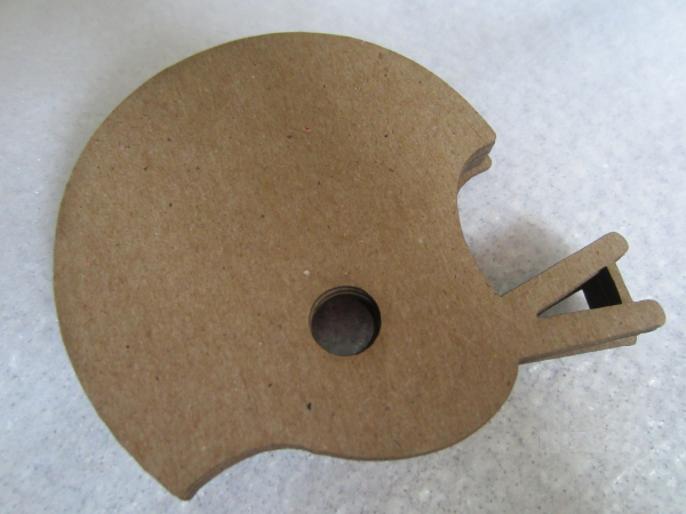
Step 1: Form the Base:
Your helmet will consist of two parts. The base and the dome. The base is what sits around your jaw and neck, while the dome is what goes on top of your head. Download a template that you like. You can use google to find a template. Alternatively you can also find a nice football helmet template. These templates are usually be easily printed on A4s or Letter size. Once you have downloaded the template, print it out on a piece of paper and stick that paper on the back of the cardboard.
Once you have stuck the base template on the cardboard, carefully cut along the cutting lines, and fold or score along the folding and scoring lines. If you have downloaded a 3D helmet template, you will have a lot of folding and scoring to do. However, the usual templates don’t involve so much folding and scoring.
Once the base has been cut and folded, secure the joints with glue, to make sure they will withhold the pressure when you put on or take off the helmet.
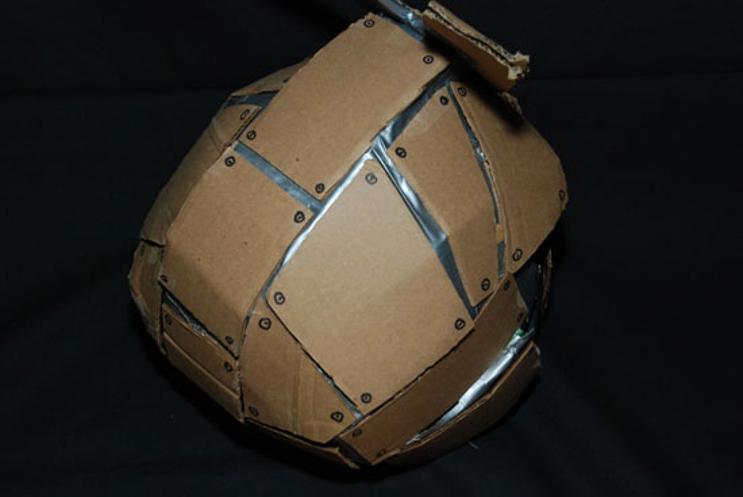
Step 2: Make The Dome:
Now using the same template, move on to making the dome. Some templates will give you standardized sizes for the dome and base, which can be used by different sized people. However, if your template is not a standardized one, you will have to adjust the measurements by first measuring your head, and keeping all measurements 1 inch bigger. This will provide you sufficient room to fit in the dome.
Cut, score, and fold along the lines in the template. Glue wherever there is a joint. This will make sure the dome holds together.
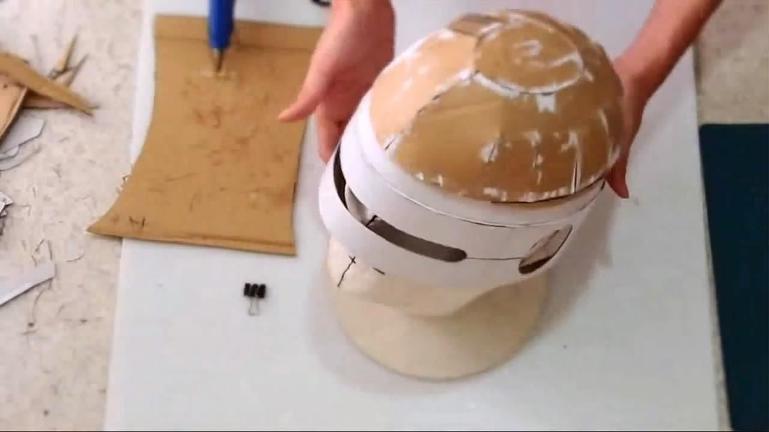
Step 3: Filling the Dome:
For the dome to hold its shape, you also need to provide an inner filling and an inner dome layer. You can use any sort of filling, ranging from stuffed newspapers to straw or wood shavings or crumpled paper. Anything that is light and sturdy can be filled up. Once you have stuffed the filling, secure the inside of the dome with the help of the dome inner that is present on the template. Now your helmet body is ready!
Try it on and see how it feels. If it feels great, now it the time to paint it with spray paints or markers! Go crazy and paint it in your favorite teams’ colors! If you are making this helmet from a custom printed cardboard box you might have enough color already and might not need to paint!
Copyright Decoration Home Ideas